Thanks to all of the educators and teachers who joined today’s live training. We hope you learned a lot about the power of infographics in the classroom… as well as a few ways to start using Easelly!
In case you missed it, or want a quick recap of what we learned, you can view the video replay (and the slides used for the presentation) at the bottom of this article!
But for those who want a more in-depth review of the presentation, here are some key takeaways from the event:
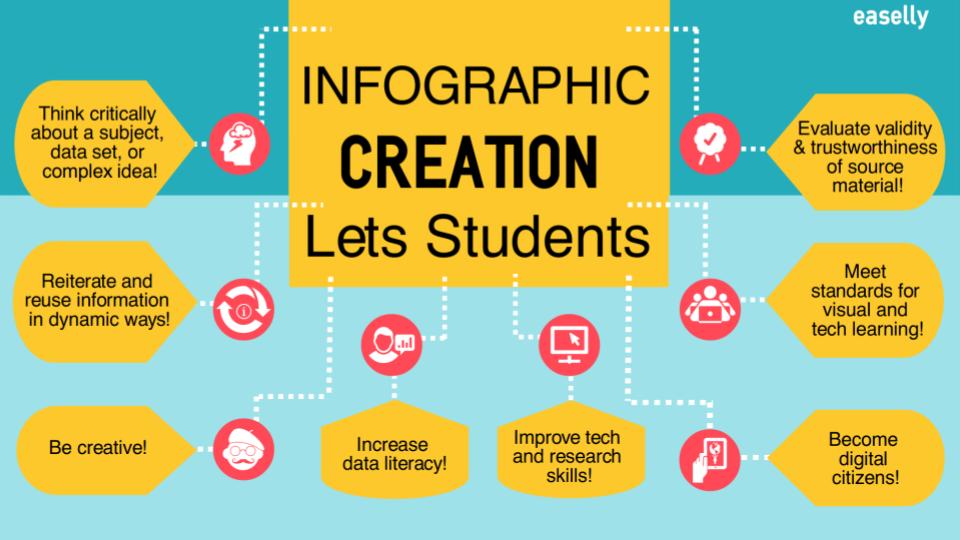
Infographics are useful for critical thinking and literacy models
Students can use infographics to iterate a subject in new ways, as well as build their research and information vetting skills! Best of all, they can do it while being creative. Let students explore the Easel.ly tool to see the fun things they come up with!
There are a few steps to get started
If you’re like most teachers, learning one more tool to use in the classroom doesn’t sound like fun. That’s why we broke down the infographic process for you.
We recommend starting with the different types of infographics. This helps teachers (and students) decide what kind of information they want to share, whether it’s a timeline, comparison, etc.
From there, teachers and educators can:
- Show students the main elements of an infographic. Of course, you can let them do their own research to explore different layouts and designs.
- Provide guidelines and a few reliable resources that students can use to populate their infographics.
- Set aside time for research. While they research, encourage students to focus on information that tells a specific story.
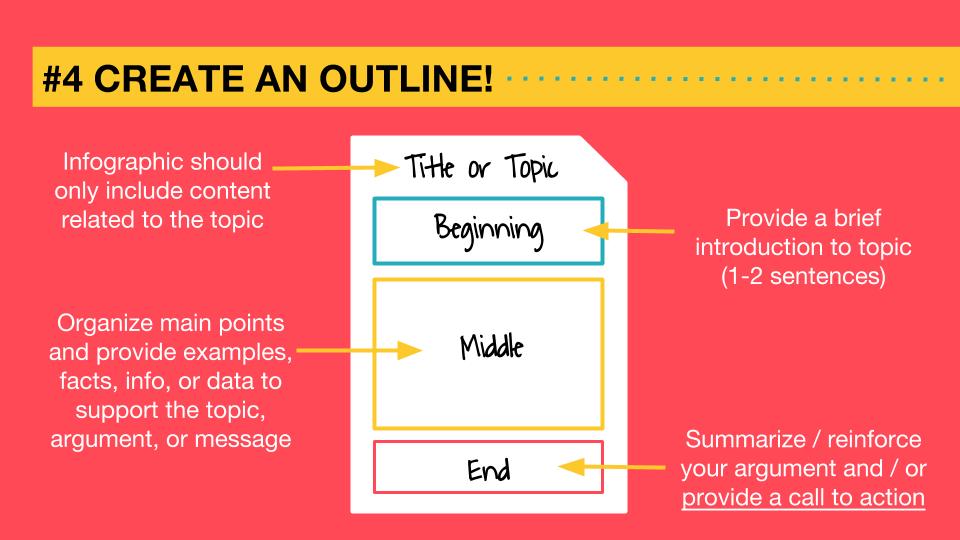
- Show students how to create an outline. A rough draft or outline of an infographic can help students figure out which template to customize or create, and it can help them decide which information is actually important to their visual.
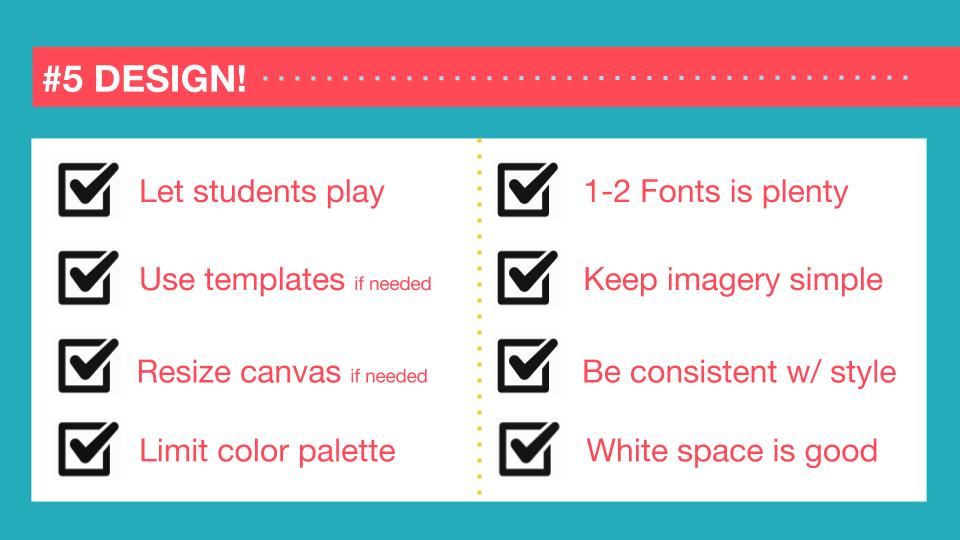
- Begin to focus on design. Remember that design is secondary to content, at least for the first infographic students create. Once you are confident that your students have created an outline and have the “meat” of their info, it’s time to focus on how the infographic looks. In the webinar, Dinah showed educators the basic principles of design that teachers and educators use as a rubric:
- Check for sources. With any project, students should show where they got their information (or from whom). Dinah showed a few ways to organize citations within an infographic using the Easel.ly hyperlink function. Students can list their sources at each point in their infographic, list them all together at the bottom, or even create a separate Google Doc if there are too many to include in the image.
- Build in time for peer review and edits. Have your students check their visuals for grammatical errors, design issues, and organizational flow. Using your rubric, you can also have students review each other’s work before the final submission.
- Have a specific deadline. Once your students have had sufficient time to research, outline, design and refine, it’s time to start evaluating. Using the Easel.ly Share function, students can either print off their infographic, share the link, or send the downloaded final image. You can even have them present their infographic as a presentation.
Thanks for registering for our event!
We hope you learned a lot from today’s live training, and that you have a ton of new lesson ideas for the Back to School Season.
If you want to revisit the training – or you missed the live event – here is the video recording:
And if you want to download or see the slides used for the presentation, check them out here:
If you’re looking for the resources mentioned in today’s event, here they are:
- Easel.ly Blog
- Udemy: FREE Crash Course in Infographics with Easel.ly
- Crash Course in Infographics FREE eBook
- Infographics in the Classroom FREE eBook
- Student Privacy Pledge
And as always, please contact us if you have questions about your educator discount for Easel.ly Pro. We can also get you set up with your class! Just email support@easel.ly to get started.
Make sure to share your new student and classroom creations on Facebook (easel.ly) and Twitter (@easel_ly)! We can’t wait to see.


