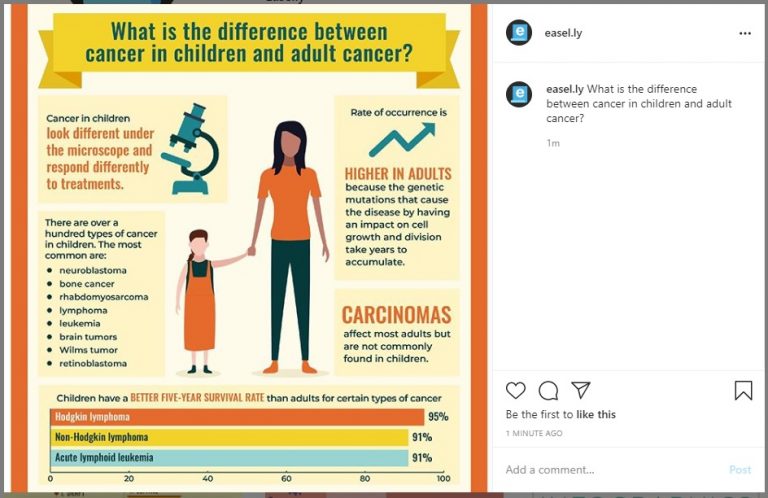
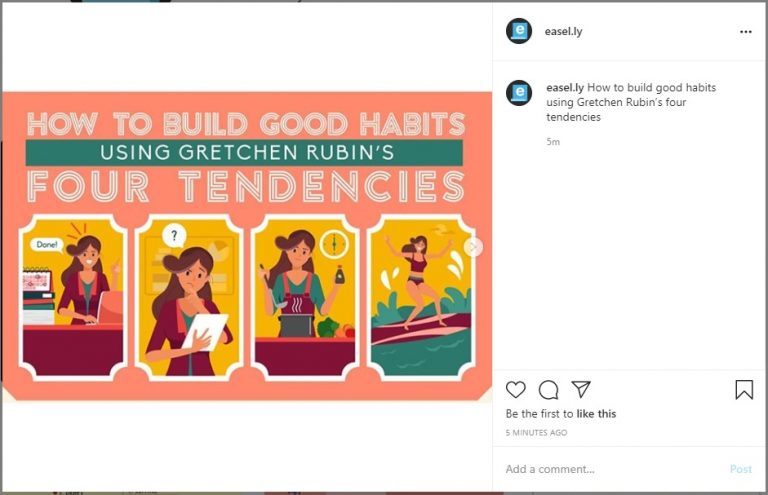
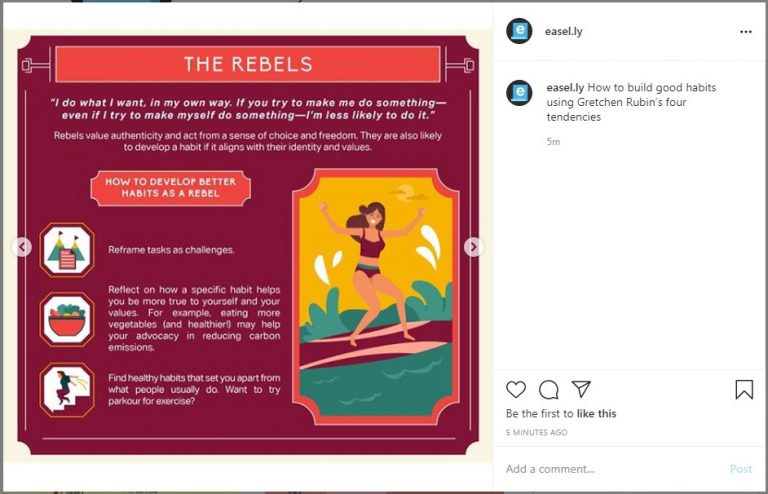
Sharing content regularly on Instagram has clear benefits for brands and businesses of all sizes: boost in brand awareness, attracting new website visitors, and eventually transforming followers to loyal customers.
Case in point — 72 percent of Instagram users say that they have purchased a product they saw on the app.
Yet the engagement and customers you’re looking for won’t happen overnight.
You have to do your part as well by creating Instagram content that will truly resonate with your followers.
How to make informative Instagram posts with infographics
Before you start creating infographics for Instagram, it’s essential to understand how your followers use the platform.
For example, users have different reasons why they visit their Instagram feed and Instagram Stories.
In a survey of 10,000 Instagram users who use the platform at least once a week, the researchers found out that users are more likely to go to Instagram Stories for live or behind-the-scenes content of brands. Meanwhile, users visit their Instagram feed to discover more information on products and services offered by a particular brand.
For the latter, infographics and animated infographics are great content types to introduce people to your services or share updates about your product.
One fitness professional experienced a 700 percent boost in his Instagram engagement by posting fitness infographics regularly.
Keep reading to learn how to make infographics for the photo-sharing platform. Plus, you’ll learn how to create informative Instagram posts to connect with your fans and followers.
Step 1: Create your infographic.
The very first thing to do is to make your infographic. At this point, you have three options:
1. Design an infographic from scratch.
Use this guide to get you started — Beginner’s Guide to Making Infographic from Scratch.
2. Create an infographic using infographic templates.
Watch the short video tutorial below on how to make your infographics on Instagram using high-quality infographic templates.
3. Find an infographic designer to create the infographic for you.
This option is ideal if you don’t have the time and resources to make an infographic from scratch.
If you prefer this option, make sure that you have a detailed infographic brief for the designer. The video below highlights the essentials of an infographic brief.
If you already have an existing infographic, skip this step and proceed to step 2.
Step 2: Make your infographic Instagram-ready.
The long-form format of infographics is one of the challenges of posting infographics on Instagram. Plus, you can’t just resize an infographic for Instagram. We’ve done this in the past, and it looked unappealing and unreadable (particularly if it’s a long infographic).
The good news is there are tools and techniques that you can use to make your infographic Instagram-ready.
a. Take a snippet of your long infographic and share it as a trivia or factoid on Instagram.
We’re using Adobe Illustrator in the video tutorial below.
Here’s how the infographic snippet looks like on Instagram:
If you don’t have tools like Adobe Illustrator, you can use online editing tools like Image Online.
b. Split a long infographic into sections and share them on Instagram with multiple photos.
In the video tutorial below, we’re using Image Online.
Part 1:
Part 2:
Here’s how a couple of the infographic sections above would look like on Instagram as a post with multiple photos:
c. Use Easelly’s simple infographic maker tool to make your bite-sized informative posts for Instagram.
With Easelly’s infographic maker tool, you can start with an infographic template and use photos, pictograms, and animations in your infographic.
Watch the short video below on how to resize your infographic for Instagram through Easelly.
Step 3: Share your infographic on Instagram.
Before you share your infographic on Instagram, make sure that your infographic has the right size to ensure more engagement!
Use the infographics for Instagram size guide below.
When writing your Instagram caption, Hubspot recommends the following:
- Put the most important content at the beginning of the caption, so it’s always visible.
- Always include a call-to-action in your caption. Encourage your audience to like, comment on, and share your photo.
- As for hashtags, create your own branded hashtag. Many businesses use their hashtags to roll out a new product, manage an Instagram campaign, promote an event, and collect user-generated content.
Meanwhile, CoSchedule advocates for the following when it comes to hashtags:
- Look at what other hashtags the influencers in your industry are using and how many.
- Test your own Instagram posts with a variety of hashtag amounts, and see what works best.
Ready to make your Instagram-ready infographics?
Making informative posts on Instagram should be on top of your list as a marketer or business owner. Why?
According to customer research by Forrester, brand engagement on the platform is ten times higher than Facebook, and 84 times higher on Twitter.
Speaking of, we’d love to see you on Instagram!
Recommended Resources:
- 7 Essential Infographic Tutorials for Non-Designers
- 4 Reasons Your Infographic Doesn’t Stand Out and How to Fix It
- Guide to Infographic Size and Dimensions: A Cheat Sheet


